Isometric Chair 3D Render Pack 27: Creative Applications
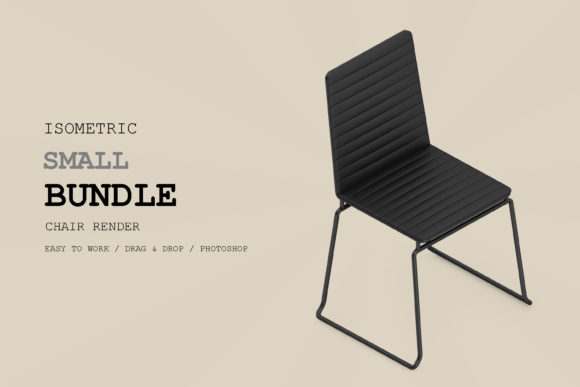
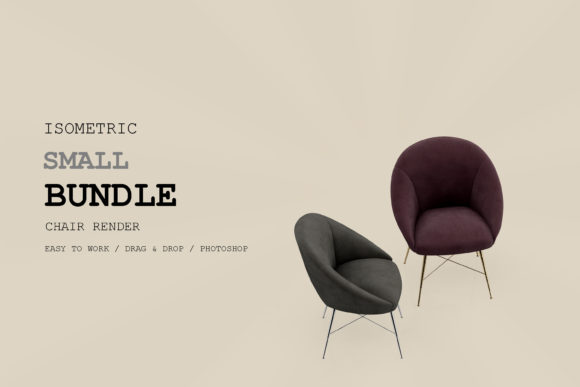
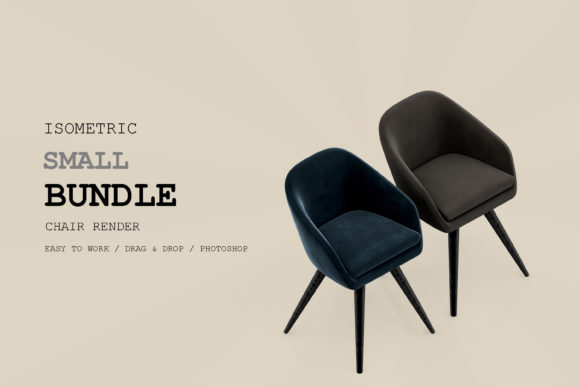
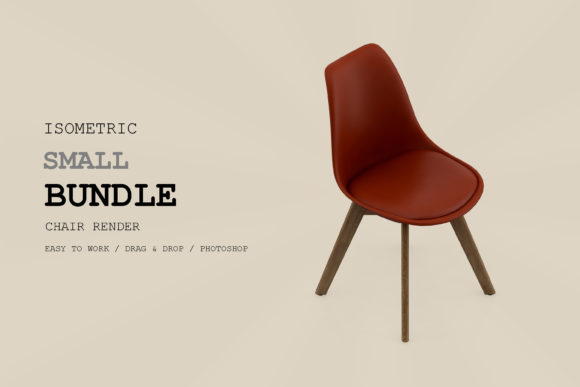
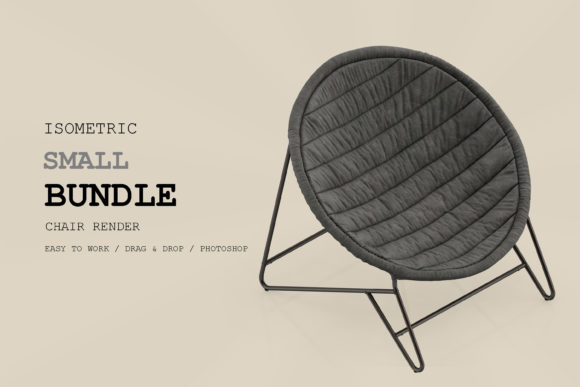
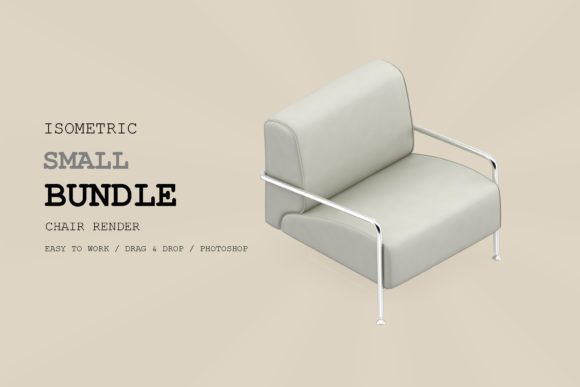
If you work with visual content, you know the value of a solid asset library. The Isometric Chair 3D Render Pack 27 offers a collection of chair models presented in a clean, isometric perspective. This pack isn't just about having images of chairs—it's about having versatile, style-consistent renders that can adapt to multiple projects. Whether you're designing a website, building a presentation, or exploring creative concepts, these renders provide a foundation that saves time and inspires direction.
What Makes This Pack Stand Out?
The isometric angle gives each chair a clear, structured look. Unlike perspective views, isometric projections keep proportions uniform, making it easier to integrate assets into infographics, app interfaces, or educational diagrams. With 27 unique render styles, you get variety without sacrificing cohesion. The pack covers different chair types—from ergonomic office seats to casual lounge chairs—so you can match the mood of your content.
Another advantage is the neutral lighting and color palette. These renders are designed to work with your existing brand colors or visual themes. You can overlay, crop, or composite them without fighting conflicting light sources. This flexibility makes the pack a practical tool for both quick mockups and polished final pieces.
Five Practical Ways to Use the Renders
- UI/UX and Web Design: Isometric chairs work well as placeholder icons in layout prototypes. They add a human element to empty interfaces, helping clients visualize the final experience. You can also use them in onboarding screens or feature illustrations for furniture apps.
- Marketing and Social Media: For product announcements or blog headers, these renders create a modern, clean aesthetic. Try combining a chair with a blurred background or text overlay for an Instagram post. The isometric style catches the eye without overwhelming the message.
- Furniture Catalogs and Presentations: If you need to showcase a chair design without a full 3D scene, these renders serve as standalone product shots. You can arrange multiple chairs in a grid to compare styles, or use them in a slide deck to illustrate space planning concepts.
- Educational Content: Teachers and trainers can use the renders to explain ergonomics, design principles, or manufacturing processes. The uniform perspective makes it easy to add labels, arrows, or annotations without distortion.
- Art Prints and Wall Decor: With minimal editing, you can transform a render into a bold poster. Crop a single chair, apply a duotone effect, or repeat it in a pattern. The clean lines lend themselves well to print media.
Adapting the Pack for Different Audiences and Goals
Different users will approach this pack with different needs. A marketer might prioritize speed and consistency, while an educator values clarity. Here's how to tailor the renders for specific contexts.
For small business owners who need affordable visual content: Use the renders directly in your website's "About Us" or "Our Team" section. The chair images can represent office culture without needing custom photography. Place them next to team photos or use them as dividers between content blocks.
For freelancers and designers looking to impress clients: Combine multiple renders into a mood board. Show different chair styles alongside color swatches and texture samples. This demonstrates your creative thinking and makes the client feel involved in the design process.
For bloggers and publishers writing about interior design or remote work: Insert a render as a featured image for articles. The isometric view is recognizable and adds a tech-forward feel, which can help your content stand out in search results and social feeds.
For educators and hobbyists exploring 3D art: Use the renders as reference for your own modeling practice. Study how the light falls, how details are simplified, and how the isometric grid guides composition. You can also remix the renders in editing software to create new variations.
Keeping Results Clear and Consistent
When working with multiple assets from a pack, consistency is key. Start by defining a color palette that ties your project together. If your brand uses specific blues and grays, apply those to the chair renders using hue adjustments. This unifies the visuals.
Also consider scale. Since all chairs are isometric, they share a common grid. When combining renders, ensure they are aligned to the same angle and size. Use a consistent shadow or drop shadow to ground them. For presentations, keep backgrounds neutral or use a subtle gradient to avoid distracting from the chairs.
Originality comes from how you combine and present the assets. Instead of using a render alone, place it in a context—a desk scene, a waiting room, a classroom setting. Even simple additions like a potted plant or a laptop icon can tell a story.
Exploring Creative Variations
Don't limit yourself to the default presentation. With a little editing, you can push the renders further.
Change the environment. Add a floor shadow, a wall behind, or a simple geometric backdrop. The isometric style pairs well with flat design elements like dots, lines, or pastel shapes.
Experiment with color. Apply duotone filters or gradient maps to match a specific mood. Warm oranges for a cozy article, cool blues for a tech piece. The neutral base renders make color grading straightforward.
Animate for digital use. If you have animation software, you can rotate the chair on its axis or add a subtle bounce. Animated isometric assets are popular for explainer videos and website hero sections.
Create composites. Combine multiple chairs to form a row or a cluster. This works well for infographics showing seating capacity or for illustrations of collaborative spaces.
Practical Recommendations for Maximum Impact
To get the most from the Isometric Chair 3D Render Pack 27, keep a few guidelines in mind.
- Always match the resolution of your final output. If you're using web images, resize renders to 72 DPI but keep them crisp. For print, work at 300 DPI or above.
- Maintain a file naming system. If the pack includes multiple variations, rename files according to your project's structure. This saves time when you revisit the project later.
- Test renders on your intended platform. A render that looks great on a desktop site might need simplification for mobile. Check contrast and legibility.
- Don't be afraid to layer. Drop the opacity of a render behind text for a subtle background texture. Or use it as a mask for gradients.
Finally, remember that these renders are tools, not finished pieces. Your creativity in arranging, editing, and contextualizing them will determine the final impact.
Why This Pack Suits Modern Content Needs
Audiences today expect visuals that are clean, recognizable, and meaningful. The isometric style delivers on all three. It feels both retro and futuristic, familiar yet distinct. For creators aged 20–50 who are building brands, teaching concepts, or simply communicating ideas, having a reliable set of isometric chair renders means you can focus on the message rather than the modeling.
The pack also supports accessibility. Because the renders are simplified and well-lit, they work well for people with visual processing differences. High contrast versions can be created easily, making your content more inclusive.
In a world where stock photography can feel stale, isometric 3D renders offer a fresh alternative. They invite interaction—viewers often want to imagine the space around the chair, which engages them with your content longer.
The Isometric Chair 3D Render Pack 27 is more than a collection of images. It's a starting point for projects that need a clean, modern visual language. Whether you're designing a product page, teaching a class, or decorating a blog, these renders provide the structure and style you need. Experiment with them, adapt them to your audience, and see how a simple chair can anchor your creative work.